
Now that you have great photos, what do you do with them? You want to display them so you can enjoy them. There are quite a few options available for printing photos. In this five part series we talk about some of the options available for prints and pros and cons of each type. Check out the first video:
Category: Educational
5 Tips for live streaming your wedding or event
With the world being effected by COVID-19 there have been many changes people have needed to make. This includes weddings being cancelled or postponed. With weddings beginning to take place again they are not happening the way they were before. Many guests are not able to attend in person for a variety of reasons. Live streaming your wedding is a wonderful option for those who can’t be there in person but still celebrate with you.
There are many things to consider when deciding if you want to live stream, including what we talk about in the video below. But for the quick overview of what to consider before livestreaming your wedding or event, here are 5 tips we cover in the video to help you get started:
- Make sure you have enough internet bandwidth to stream well. The last thing you want at your wedding or event is to have the screen freezing, the audio cutting out, or worse, disconnection issues. How much internet speed do you need? We cover that in the video below.
- Location, location, location – Where you put your camera matters Your camera is the eyes of your online participants, so where they “sit” matters a lot. To be sure they have a great view, make sure to set up in a close up space very near the front where all the action is so they can see it all happen!
- Have a facilitator – Having a dedicated person there watching the stream feed, how your bandwidth is holding up, and making sure the sound is good is very important for making your event or wedding day go smoothly for those who attend virtually. You want to make sure they feel like they are there and appreciated for their attendence!
- Sound will be vitally important, so plan ahead – Next to seeing everything happen, your sound quality will be the other big factor in giving you online guests the best experience possible. It doesn’t matter if they can see you standing there if they can’t hear you say “I Do!” Make sure that you plan for how your online guests will hear you, as well as what the experience will be like (for more tips in this category watch the video!)
- Your online audience is still an audience, think from their perspective – Ultimately this is about having those who can’t attend in person feel like they are still there participating in your wedding or event. Taking some time to both think and experience it from their perspective will help you give them the best experience possible and let them know they matter to you!
To get all the info for having a successful live stream of your wedding check out the video below! Happy Planning
Keywords: photography, videography, live stream, wedding, wedding video, Salem, Oregon, Willamette Valley, salem oregon wedding photographer, salem oregon wedding videographer, drone wedding
3 Tips for taking portraits with your pet

As a family photographer, I am privileged to work with many diverse types of families. Many times we work with children, and young children need special attention for getting great photos with them. But young children aren’t the only kids that need special consideration in photography. I am talking of course about your fur babies!

Over the years I have worked with dogs, cats, guinea pigs, rabbits, horses, and even chickens in portraits with my clients. I love to see the interactions and love that is very obvious when these fur babies come in.
I have found over the years that there are few things that will make the portrait experience more enjoyable when your fur babies join you. So here are 3 tips for making portraits with your pets easier on them and you!
Tip #1: Don’t go against your pets personality
You know your fur baby best. And just like any 2 or 3-year-old, working with their personality not against it will make the whole process much easier.

If your dog is always on the go, it is best not to try and get him to sit still.
If your cat doesn’t usually get held, chances are someone will end up bleeding if you try to hold her for a photo.
Plan to work with your pet’s personality and your result will be better.
Tip #2: Communicate info about your pet to the photographer
Photographers will do their best to work with you and your pet, but any help you can give them will make things go smoother. For example, if your pet always comes to the sound of their name, then it is probably not good for the photographer to continually call their name and have them walk out of frame. If you have a dog that gets aggressive if someone gets too close, let the photographer know so that they can keep their distance. Anything that will help is important to communicate to your photographer.

Tip #3: Keep an open mind and reasonable expectations
Just like working with toddlers, pets will have good and bad days in front of the camera and that’s ok! The important part is that they are there, not that they are perfect. Sometimes it is the quirky imperfections that make a memory endearing, like this kitten who only wanted to be on his dad’s back! Sometimes, that is what makes the cutest photos.
I hope these tips help you the next time you have a family portrait scheduled and you want to include the whole family!
5 Tips to help you get the best portraits of your kids
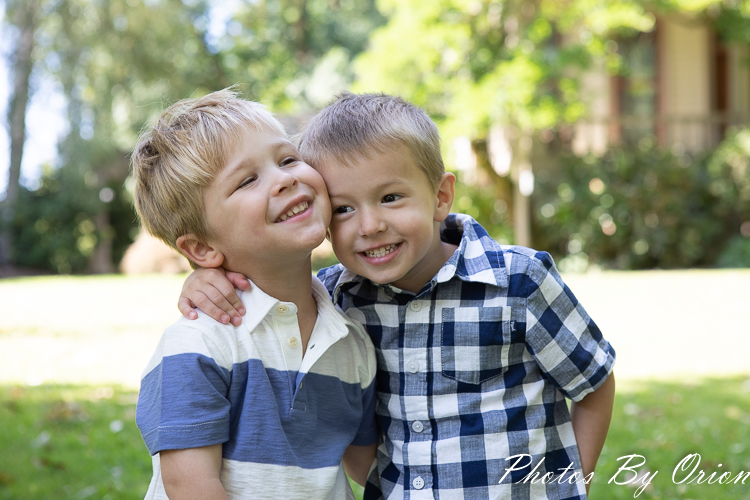
Here at Photos By Orion, we love working with children! They are so fun and spontaneous, and they can have such engaging smiles! But kids, like pets, have only a short amount of time and attention they are willing to give to a photographer, so here are a few tips for helping you get beautiful portraits of your child.
- Have them well fed and rested
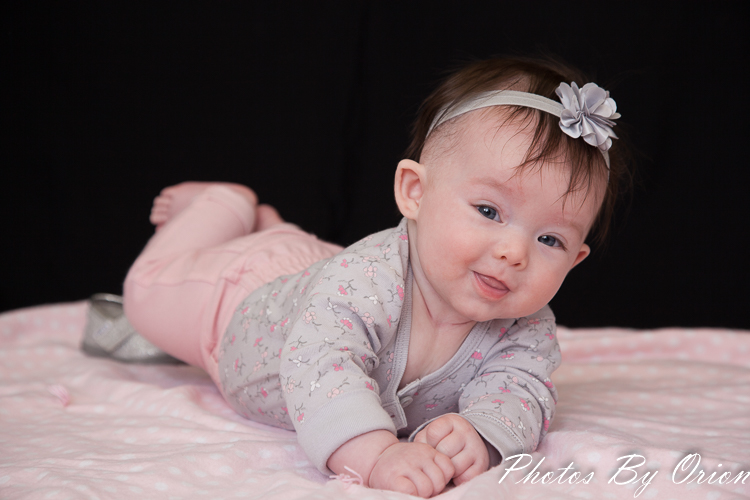
No one does well in photos if they are hungry or tired, so the best time to do a photo session that will involve children is right after lunch and a nap. It is also best to keep the photo session short, so don’t plan on having your child involved for an entire hour. When we do photo shoots with small children (under the age of 5) they are regularly finished early so the child doesn’t have to be “on” for that whole time.
2) Bring a favorite toy
Often times a favorite toy or toys can make the process easier for a child. They feel safe when they have their “snuggy” with them or when they can see it, so bringing a few props like that can enhance the photo shoot. It is also important to remember that YOU are their most favorite, so helping your photographer out by standing right behind them to call out and play with your child can make a huge difference.
3) Location, location, location!
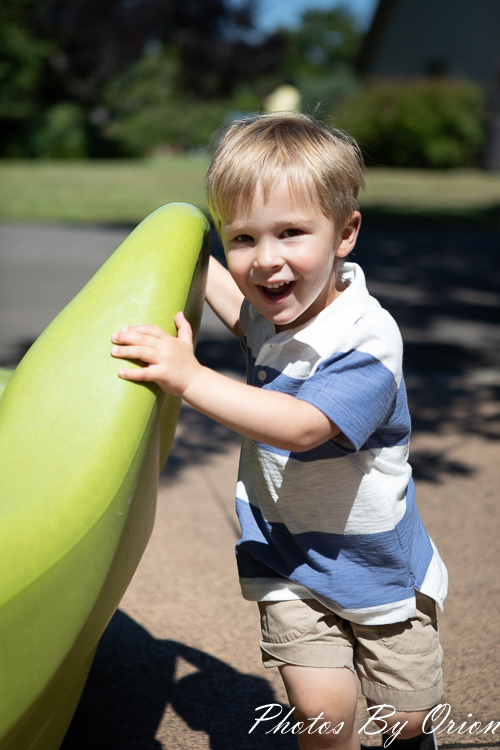
Choosing where to take photos is a very important decision. Some children do well indoors at a studio (especially the really young children as a studio can be more temperature controlled than an outdoor venue), while others need to be able to run. Whenever we are working with children I tend to recommend venues that are close to, or include, a playground. We use the park as an incentive to get through the “boring” first part of the session, which we try to limit to 30 minutes, and then get fun playing shots at the playground to round out the session and give the children a treat. During the really hot of the summer, three great parks we love to take clients with children are to Riverfront Park and West Bennett park in Salem, and to River Road park near Keizer because each of these parks not only has a playground, but it also has a splash pad where kids can cool off after all that work of looking cute (and it makes for great photo opportunities)!
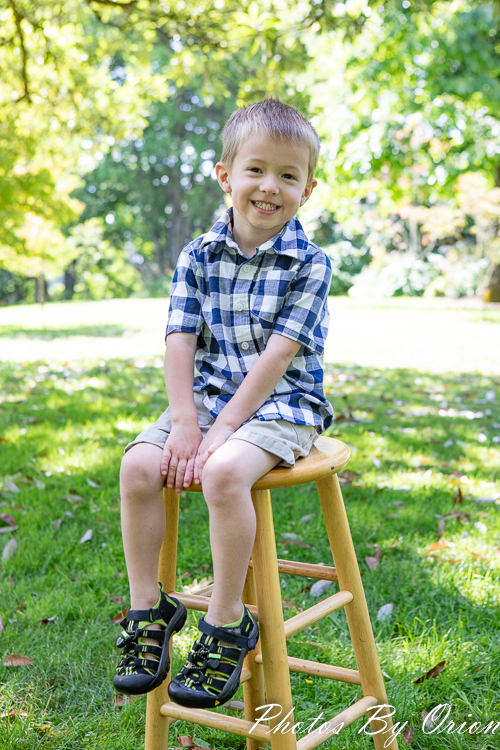
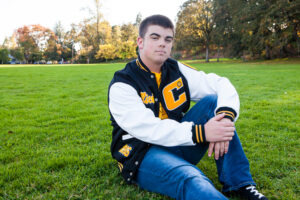
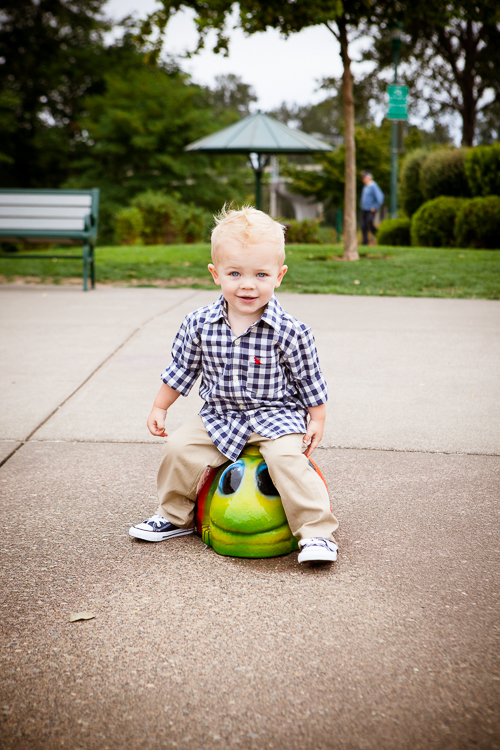
4) Keep directions (and expectations) simple
Kids are good at following simple directions, so when it comes to posing them for photos, the simpler the directions they are given the better. For the photo on the left, all the direction we gave was to sit on the stool, look at the camera, and smile. He naturally posed himself into that adorable pose so we snapped fast and got that great shot. Children don’t always understand why we are getting photos, so to them, posing is weird! They get lost in multi-step directions like “sit up, put your hands here, your feet here, point your nose toward the camera, etc., and will forget to leave their bodies where we put them as they get each new direction. So with your kids, simpler is better. Letting them sit as they naturally do and then changing 1 or 2 things is the best way to get great photos and to set appropriate expectations for your portrait session.
5) Be relaxed and remember, this is fun!
Children will take their cues from their parents, so it is important for you to be relaxed and to have the attitude that this will be fun. I know that can be hard to get everyone dress and ready to go, but taking a moment to breath and re-center yourself you can help everyone to be in a better mood and therefore get better photos. These are your memories that will last well beyond your lifetime, but they are also a shared family experience. Whether that experience is good or bad is up to you. Getting family photos each year should be something that is fun for all, because having memories of each stage of your family’s life is so important!
5 of the best spots for senior and family portraits in the Salem area
The Willamette Valley is full of great outdoor locations for Fall family portraits or Senior shoots. Here are 5 of my favorite:
- Minto-Brown Park
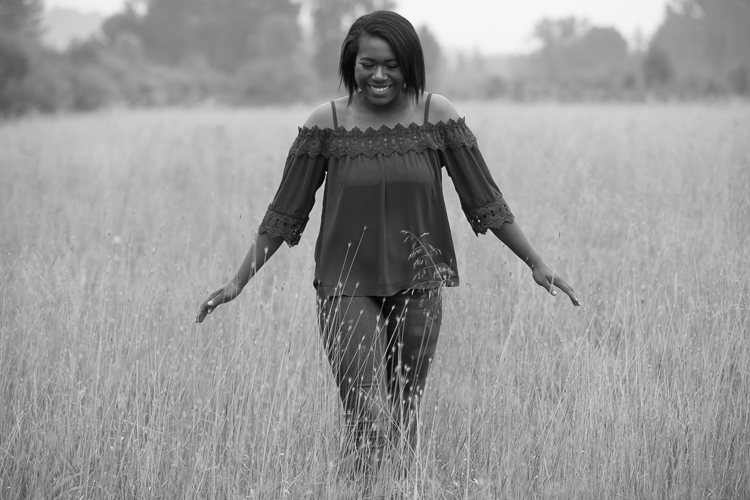 Minto-Brown park is located minutes from downtown Salem, Oregon. It is the largest park in Salem. Numerous fields and paved paths abound in Minto-Brown Park, providing a variety of locations to choose from which makes it a favorite location for me because it has a good variety of location types. There are old stumps with vibrant green foliage, grass fields and river views that can be taken advantage for excellent backdrops. During a few weeks in the fall, there’s even a little-known road along the slew that has fall leaves everywhere. I tend to take clients to the first parking area near the entrance to the park. From here, there’s a paved pathway that leads around a large field of tall grass (which makes for a great backdrop), past a fallen tree and on towards a new bridge that connects Minto-Brown park with Salem’s Riverfront park. I really enjoy the lighting amongst some of the evenly spaced trees.
There’s a second parking lot that is reached by continuing past the first lot. Near the second lot is a small park with toys for kids to play on and a covered area. From here a path takes a turn towards the river with tranquil views of the water. Proceeding down an alternative path will lead to quiet lakes, some with small viewing platforms.
Any of these locations make for nice backdrops or quiet locations for photos.
- Deepwood/Bush Park
 Deepwood and Bush park are just south of the downtown area in Salem, Oregon.The parks are separated by a small stream, so I tend to stay
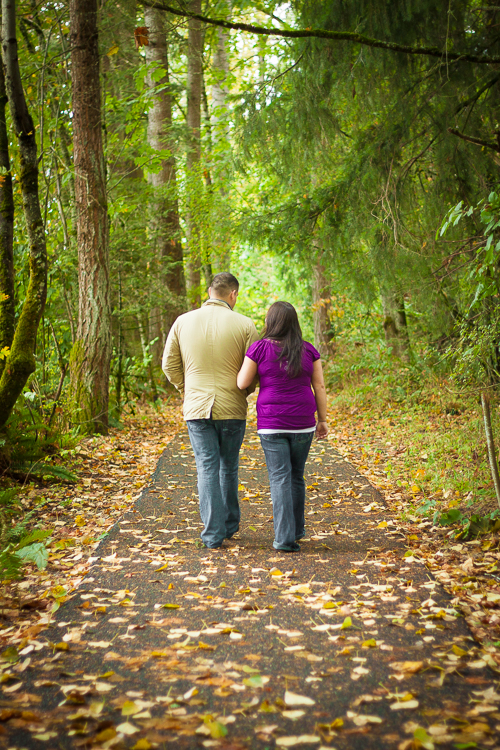
 in one of the two locations during a single photoshoot. Both locations have numerous great locations to take photos. Deepwood is situated on a street corner and the original house for the property is a historic location featuring daytime tours for those interested. I often use the house as a backdrop for clients, especially family shoots. Surrounding the house are several gardens. The formal garden has nice gated sections that make for great locations. Continuing around the house there is a tennis court that is used for wedding receptions. Around the court are short trails that are quiet and not often walked. I enjoy taking photos along the creek or gather the giant leaves that fall in the Fall to use in portraits. It’s not difficult to find shade on bright days or a quiet location beside the creek.
- Keizer Rapids Park
 Keizer Rapids park is located in Keizer, Oregon, which is north of Salem, Oregon. This park seems to be going through changes every year. They currently have a large playground called The Big Toy that can be used as an excellent opportunity for kids to play on. There is a boat down with a large field surrounding it. I’ve taken photos of families at the amphitheater that boarders a treed area. In the trees is a Frisbee golf course and if you want to explore further, a wide bend in the Willamette river has fields of rocks where the river floods in the winter. I’ve often seen small rivulets that would make excellent backdrops.
- Riverfront Park
 Salem’s Riverfront park has become an increasingly popular place for senior photos. Riverfront park is located along the Willamette River and is situated right next to downtown Salem. Many events and carnivals can be found here at various times of the year. As for photo locations, there are two walking bridges at each end of the park that cross over the river. The one to the north is an old train tressle made into a walking bridge. I’ve taken many photos here using the bridge pattern as a backdrop. The park has nice grassy fields and a splash park that kids love, even when it’s not on. I find it a good place for photos featuring smaller kids. The main feature of the park is a carousel which can be used for photos. If your photoshoot is during the winter, the park also features a temporary ice skating rink!
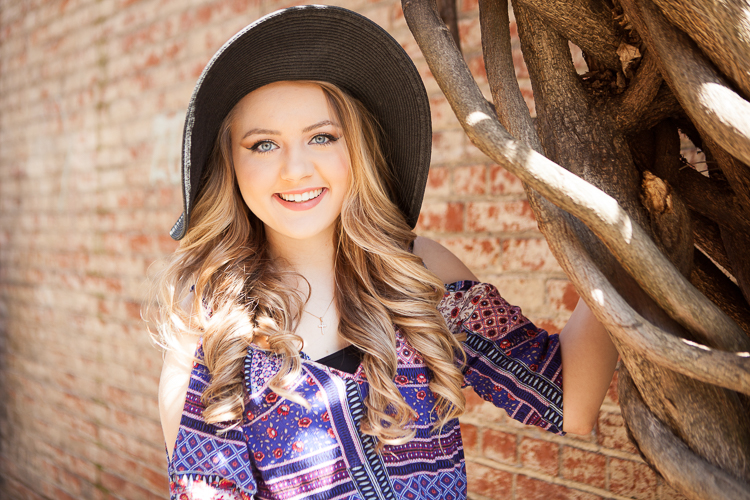
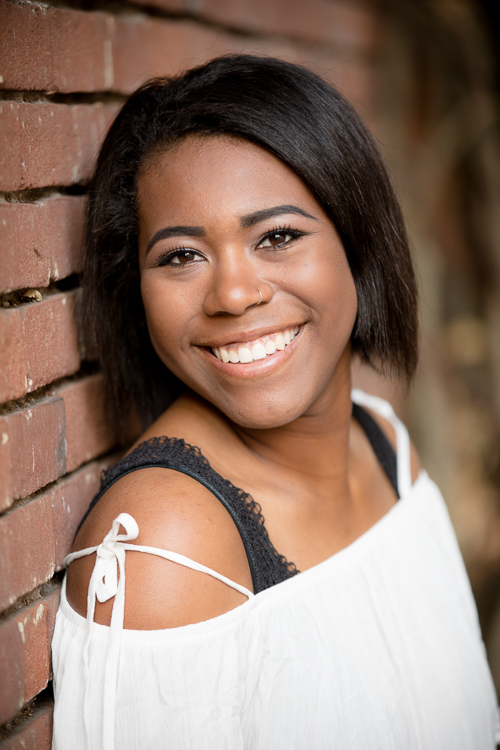
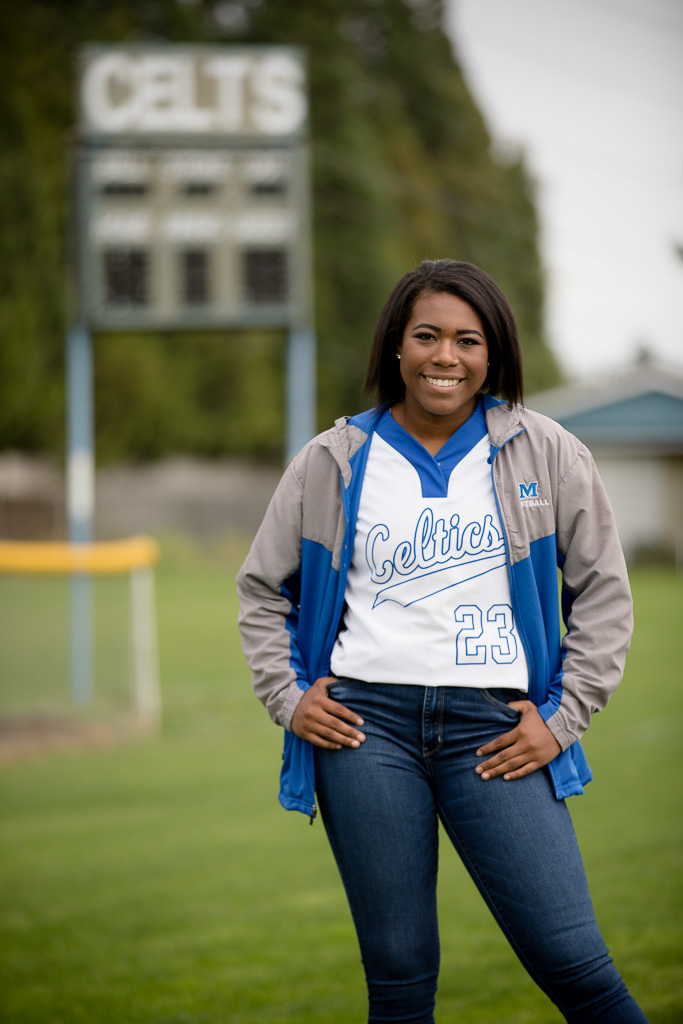
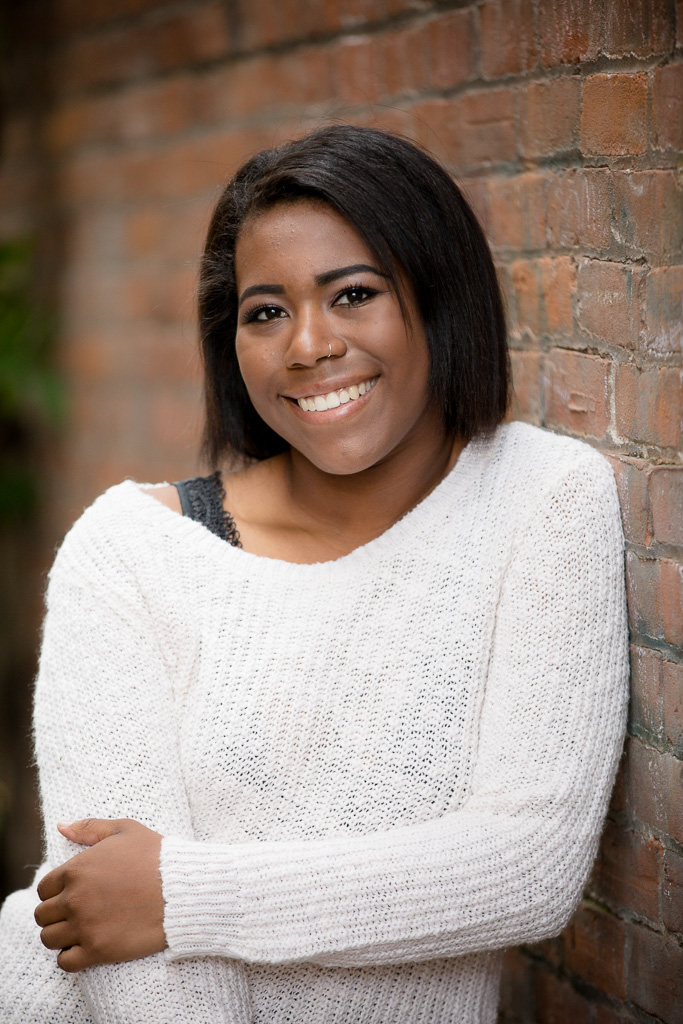
For the seniors, I usually walk across the street from the park to capture those cool brick-walled backgrounds. It’s not uncommon to find someone has written on the wall the graduating year, which I like to take advantage of in pictures.
- Downtown Salem
 Downtown Salem, Oregon is ripe with old and new buildings. Between many of the streets are neat little alleys that people often use for photos. From arched alleys to wide steps to twisty trees, a short walk easily brings together a variety of brick locations and quiet spots available for your photo session.
Hopefully any of these locations spark your interest in outdoor photography locations. If you’re wanting outdoor photos but aren’t sure where to choose, we will work with you to take advantage of the best each location has to offer at the time of your photoshoot.
3 Tips for Getting Better Photos
Capturing great images usually rests firmly in the hands of the photographer, but I have found that the people I photograph who come prepared often capture the best photos. Here are three tips you can do to improve photos of yourself:
1. The “turtle”

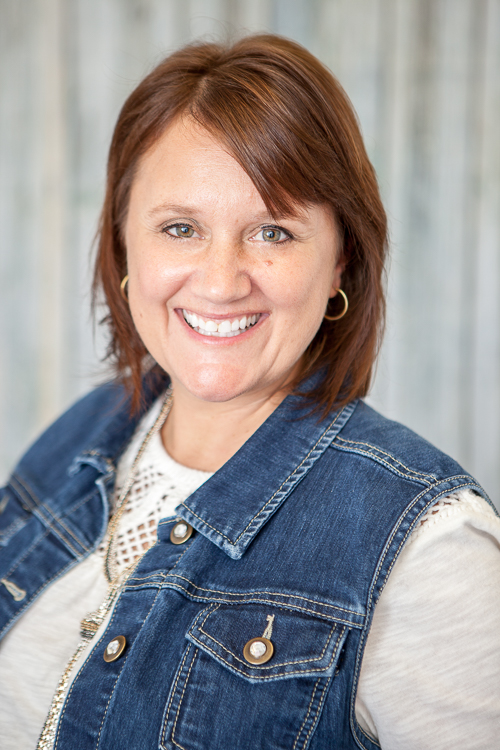 Kathryn and I have nicknamed a method of removing double-chins in photos as the “turtle”. The “turtle” is a method of elongating your chin towards the camera. Think of it like pushing your face away from your neck then lowering your chin. It often feels awkward, but the effect when you see the photo will surprise you.
2. Props
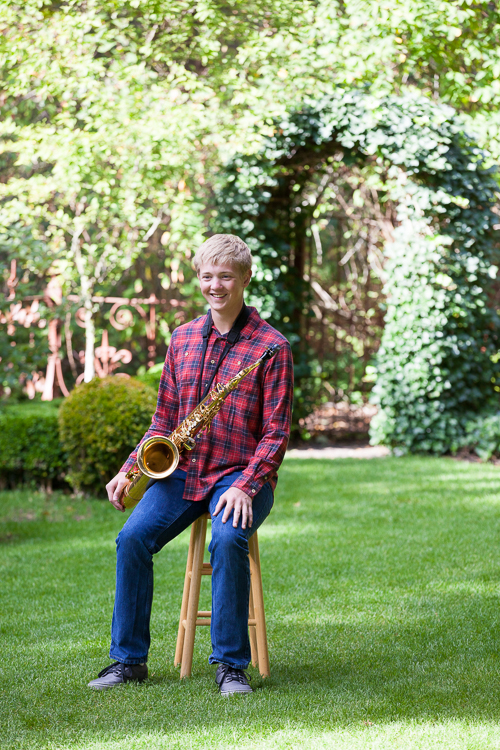
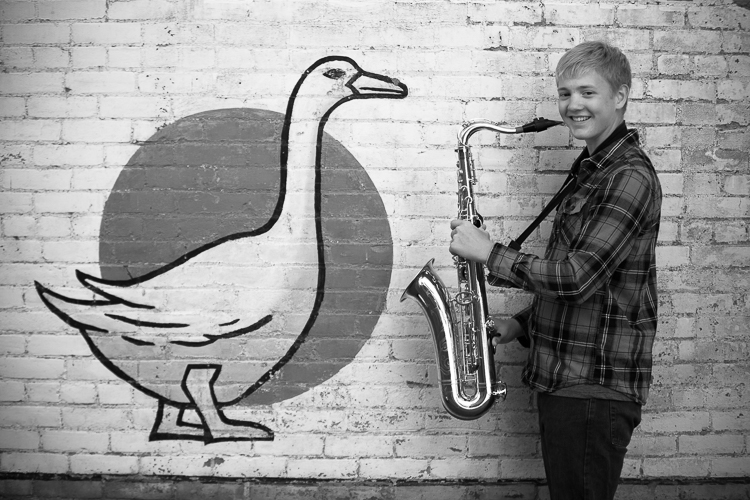
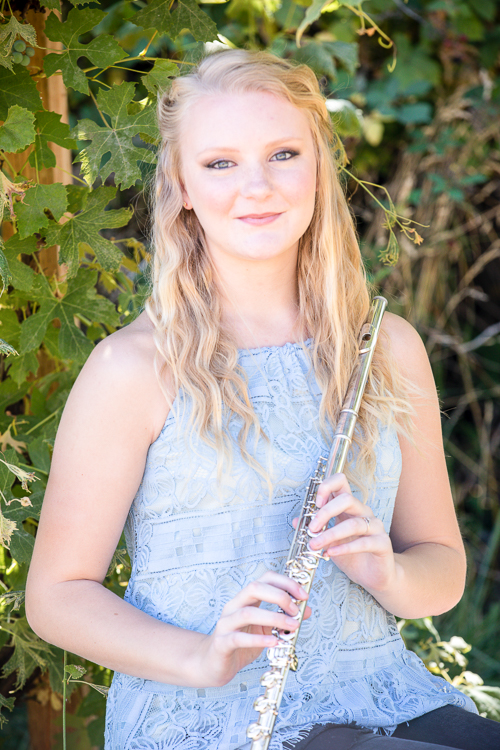 Props can make a huge difference in your photos. The best props are ones that say something about who you are. For example, I would recommend a senior bring their sports equipment or musical instrument. These kinds of props always add to the photo, and if it’s something you really love will often help you to be more comfortable in front of the camera.
3. Clothing choices
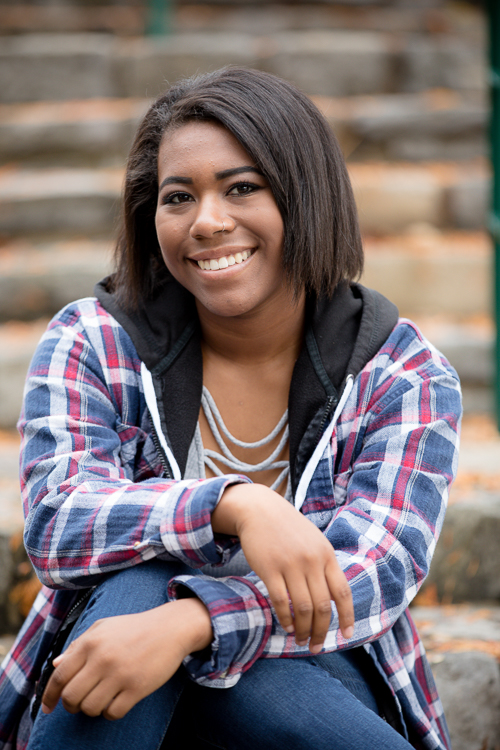
Clothing helps us define who we are and clothing choices at a photoshoot are no exception. I recommend families attempt to match each other when they come in or perhaps even have a change of clothes or two. Senior photoshoots should have at least 3 outfits, one that shows the formal you, one that shows the casual you and one that you are most comfortable in.
The best weather conditions for portraits
My favorite weather conditions to take portraits in is when it’s cloudy. Can you believe it? Bright sun definitely makes for a boost in morale, but it’s really the days when it’s cloudy that I prefer to take portraits in.
Why is that, you ask?
When it’s cloudy, the light is spread out better and colors are more even. If you’ve ever been in a photo studio, you might have noticed those large white screens. Those screens are small versions of clouds. Light is bounced around and reduces shadows, leaving your photos looking better. Fortunately for me, I primarily shoot in the Pacific Northwest where clouds abound. I feel very luck in this respect. I have even nicknamed Oregon the “land of diffuse light”. =-)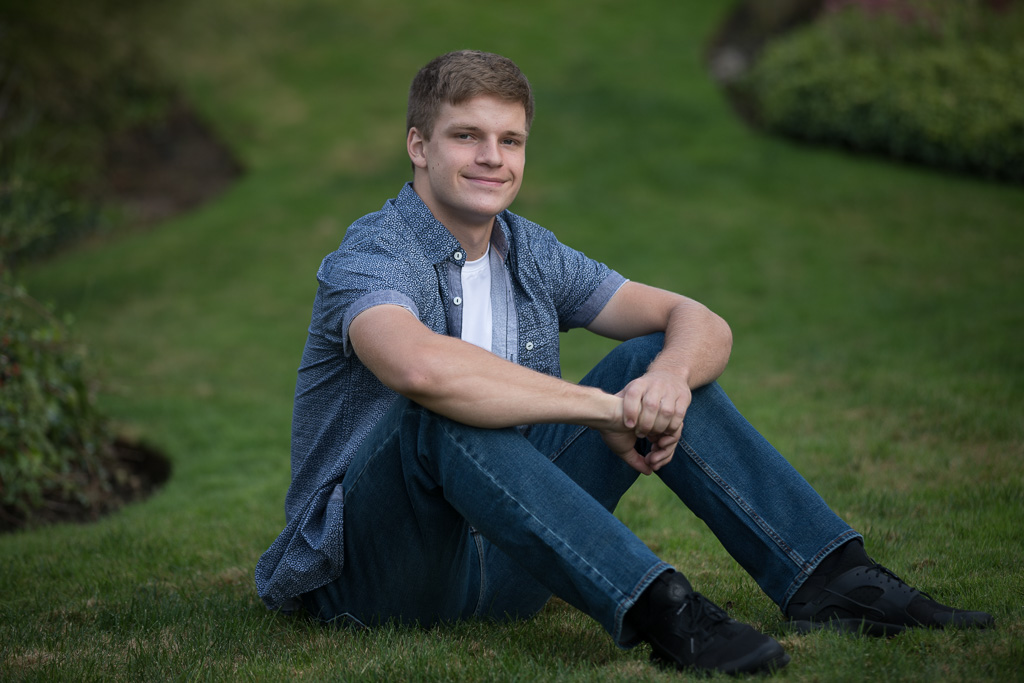
Don’t get me wrong about sunlight though. I love to shoot on the sunniest of days as well. Sometimes I’ll position you in the sun for shots, but on these kinds of days, I will usually have the light blocked with either a scrim or I will just position you in the shade.
So don’t worry about scheduling your outdoor photo shoot with me during the fall, winter or spring in the Pacific Northwest. I will keep tabs on the weather so that we can get great images for you!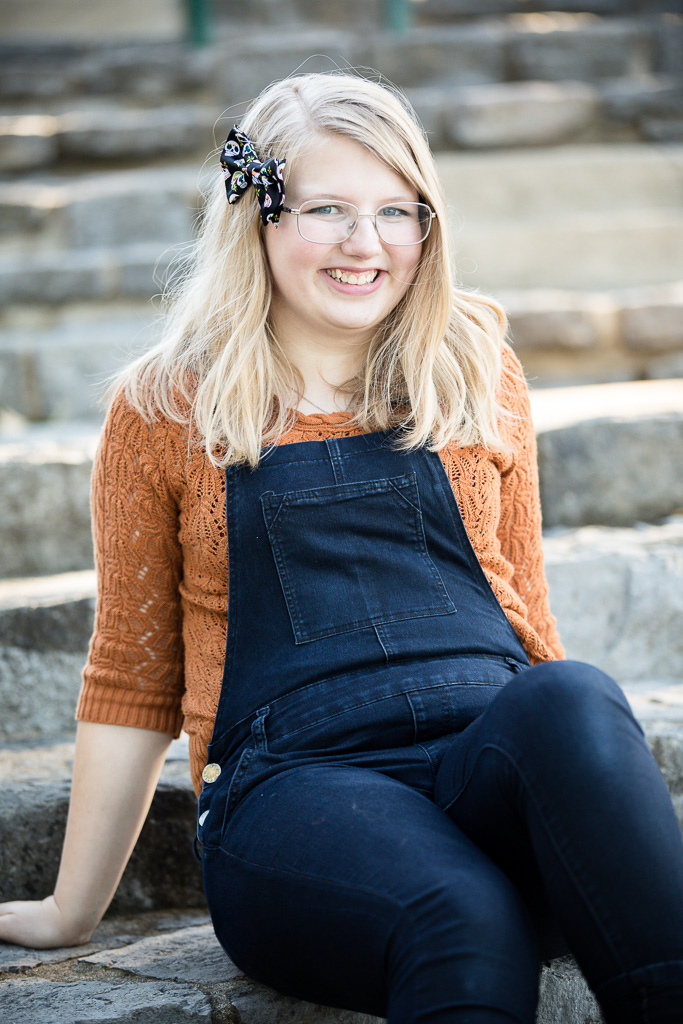
3 Things to Know Before Scheduling Your Spring Portraits

Natural light is your friend
Have you ever had a photoshoot scheduled and it looks like it’s going to rain shortly before your outdoor-Oregon family photo session? Don’t worry too much about it, call your photographer up and see if they think it’ll still be a good time to take photos. If the weather is like many Spring days in Oregon are, there is likely a chance that that dull gray sky will actually enhance your photos. I like to think of those dull gray clouds as a gigantic light diffuser. Talk to your photographer to see if the weather will be good or not, you may be surprised.
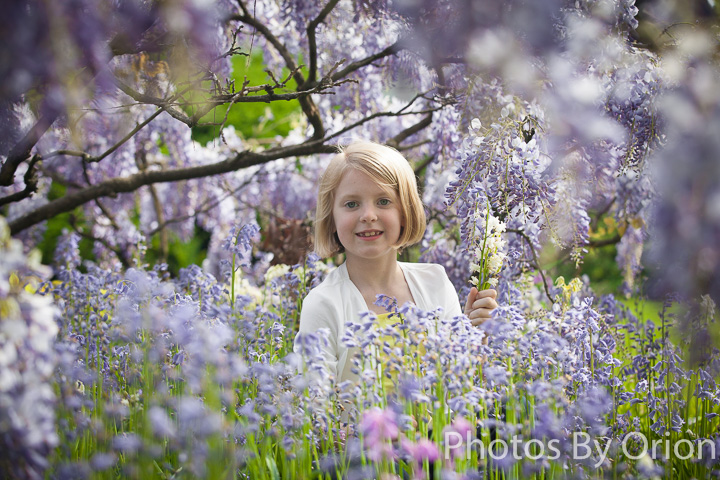
Great foliage backdrops
Spring time is the best time to go out and capture family photos with excellent greenery and flowers. The grass is vibrant green and the flowers are usually plentiful and colorful. If you don’t have a special place in mind for your photoshoot, your photographer will. I have several places around the Willamette Valley that I enjoy taking clients to and I typically try to schedule photoshoots around the times when those flowers and trees look their best. A personal favorite are the Japanese Wisteria in Bush Park.
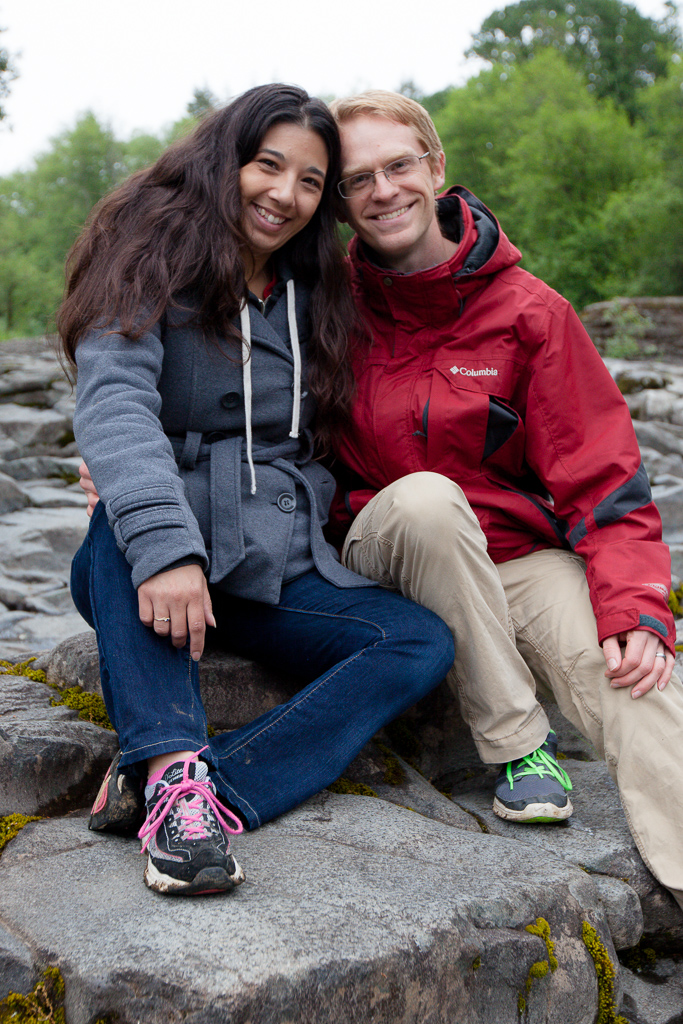
Clothing Choices
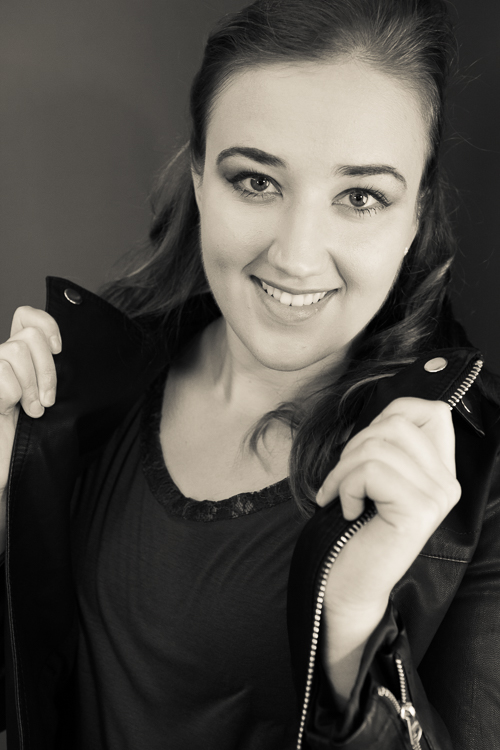
The weather in Oregon during the Spring is a time of change and your clothing choices should follow suit. =-) I recommend being prepared for both rain and sun. If you happen to have a new jacket, bring it along. It may go great with the background. Not every photoshoot needs to be formal.
Props
Sometimes, props can be great add-ons to a session. Here in Oregon, an umbrella may not get used in the rain, but it can make a great prop for photos! Giving it a little thought and grabbing a couple things that are special to you can take a good photo session to great in a flash.
From your photography team at Photos By Orion
What does a typical wedding ceremony look like?

You’re engaged, planning your wedding, checking out dresses, and are super excited to start meeting with vendors. They ask you about your ceremony and you suddenly realize you have no idea how to put together a wedding ceremony! You start to freak out as you add yet another thing to your list of to-do’s that is already a mile long, but take a deep breath and relax for a minute.
A wedding ceremony can be as simple or as complicated as you want to make it. Realistically, the list I have compiled below is what happens in a typical American ceremony. Different cultures will change this accordingly. I have tried to keep this list as bare-bones as possible, just the things that are typical and/or necessary, and labeled everything else optional. If you follow this simple formula you can have a ceremony plan in a few short minutes!
Wedding Ceremony Elements
Processionals – where the wedding party and parents of the couple walk in. Typically the parents are seated by ushers or groomsmen/attendants (attendants = the people standing with the couple up front, not the guests) first, then the groom/partner#1 walks in with the officiant, then bridesmaids/groomsmen/attendants walk in, followed by the ring bearer. Finally, the flower girls/grandmas/people walk in just ahead of the bride/partner #2.
Bride/Partner entrance
Officiant opening remarks – These are typically short comments welcome, of what makes a marriage work.
Charge to the couple – This is the remark about the couple coming together seeking a committed relationship and that they are here to take the other person as their husband/wife/partner.
Vows – These are your promises to each other. They can be the same to each other or completely different. They can be repeated after the officiant or read from a paper. However and whatever you choose to promise to your soon to be spouse, this is the important part of the ceremony as it is what will bring you together. Spend time on your vows, be honest and committed to what you say here.
Ring exchanges
Unity event – (optional) I have included this because about half of all weddings have some sort of unity event. Some examples I have seen are unity candles, hand-fastenings, and sand/bead/candy ceremonies, although this could truly be anything that brings two things together into one.
Pronouncement of marriage – “…By the power vested in me…”
The Kiss
Closing Remarks and presentation of couple – “May I be the first to present…”
Recessionals – wedding party walks back in reverse order.
There are many ways to make the wedding ceremony all your own, but as long as you start with this framework you will be good to go.
Comment below to let me know if I missed anything. These are the elements I have noticed in my wedding photography career as going into a typical ceremony.
Getting started on your wedding photo “Must Have” list
Your “Must Have” list is a very important part of your wedding planning. It not only determines the amount of time you need for your photography, but it also helps you with your timeline planning, with the order of events, with knowing if you need one or two photographers, and if there are other options like bridal portraits that will help you keep your wedding on track and on budget.
The list given below is a general list that I have used to help my clients over the past 10 years plan their wedding day photography. It is by no means completely inclusive, but I have found it helps my clients start the process of making their own list. While the list is written in “Bride and Groom” language, the ideas and concepts can be used for any wedding couple!
For planning purposes, plan to set aside 3-5 minutes per pose/picture on your list. This is a great starting time reference.
“Must have” wedding photo list ideas
Pre-wedding/Getting Ready
Rehearsal area before guests have arrived/details
Prep Shots – Bride & Groom getting ready
The Dress – Hanging or Draped
The Rings – with invitation, bouquet, etc.
Zipping Dress
Bride Applying Make Up
Groom Fixing Hair
Attaching Boutonnière to grooms lapel
Ceremony
Groom waiting at altar
Church Wide Shot (with & without guests)
Bride walking down aisle ( Side Profile & Front )
Father giving away bride
Groom over the shoulder shot of bride ( & Vis Versa)
Holding hands – Bride and Groom
Bride & Groom Kiss
Bride & Groom Leaving Church ( Receiving Line)
Reception
Reception/Banquet Hall Outside shot
Food Shots (Cocktail Hour, Drinks, etc.)
Shot of each table full of guests
Bride and Groom Hand & Ring Portraits
First Dance
Bride & Father Dance
Groom & Mother Dance
Bouquet Toss
Guarder Belt Toss
Cake Cutting
Bride and Groom Feeding each other
Misc. Guests Dancing
Best Man & Maid of Honor Toast/Speeches
Bride & Groom Toast/Speeches
Centerpieces & Flower/Decorations
Guestbook Signatures
Bride & Groom “Just Married” Vehicle – Driving Away
Thank you picture (if doing one)
Posed Photography
Bride alone
Groom alone
Bride and Groom
Bride and Groom at alter
Bride and Groom with Officient
Bride and Groom kissing
Bridesmaids/Flower Girl(s)
Groomsmen/Ring bearer
Bridal Party
Bride with Groomsmen
Groom with Bridesmaids
Bride with Bridesmaids
Groom with Groomsmen
Bride with flower girl(s)
Groom with ring bearer
Bride and Groom with bridal party
Bride with parents
Groom with parents
Bride and Groom with bride’s parents
Bride and Groom with groom’s parents
Bride and Groom with both sets of parents
Bride and Groom with bride’s grandparents
Bride and Groom with groom’s grandparents
Bride’s parents alone
Groom’s parents alone